Run a SaaS starter locally
Start with a real workspace application: hosted sign-in, workspace creation, and tasks stored in Switera's tenant-scoped data service. No local database, copied account-email templates, or Switera repository checkout is required.
This first starter is a foundation for your product, not a complete commercial SaaS. Payments, invitations, files, search, realtime and flags are not wired into its customer UI yet. Configure and test those integrations separately.
1. Configure your app
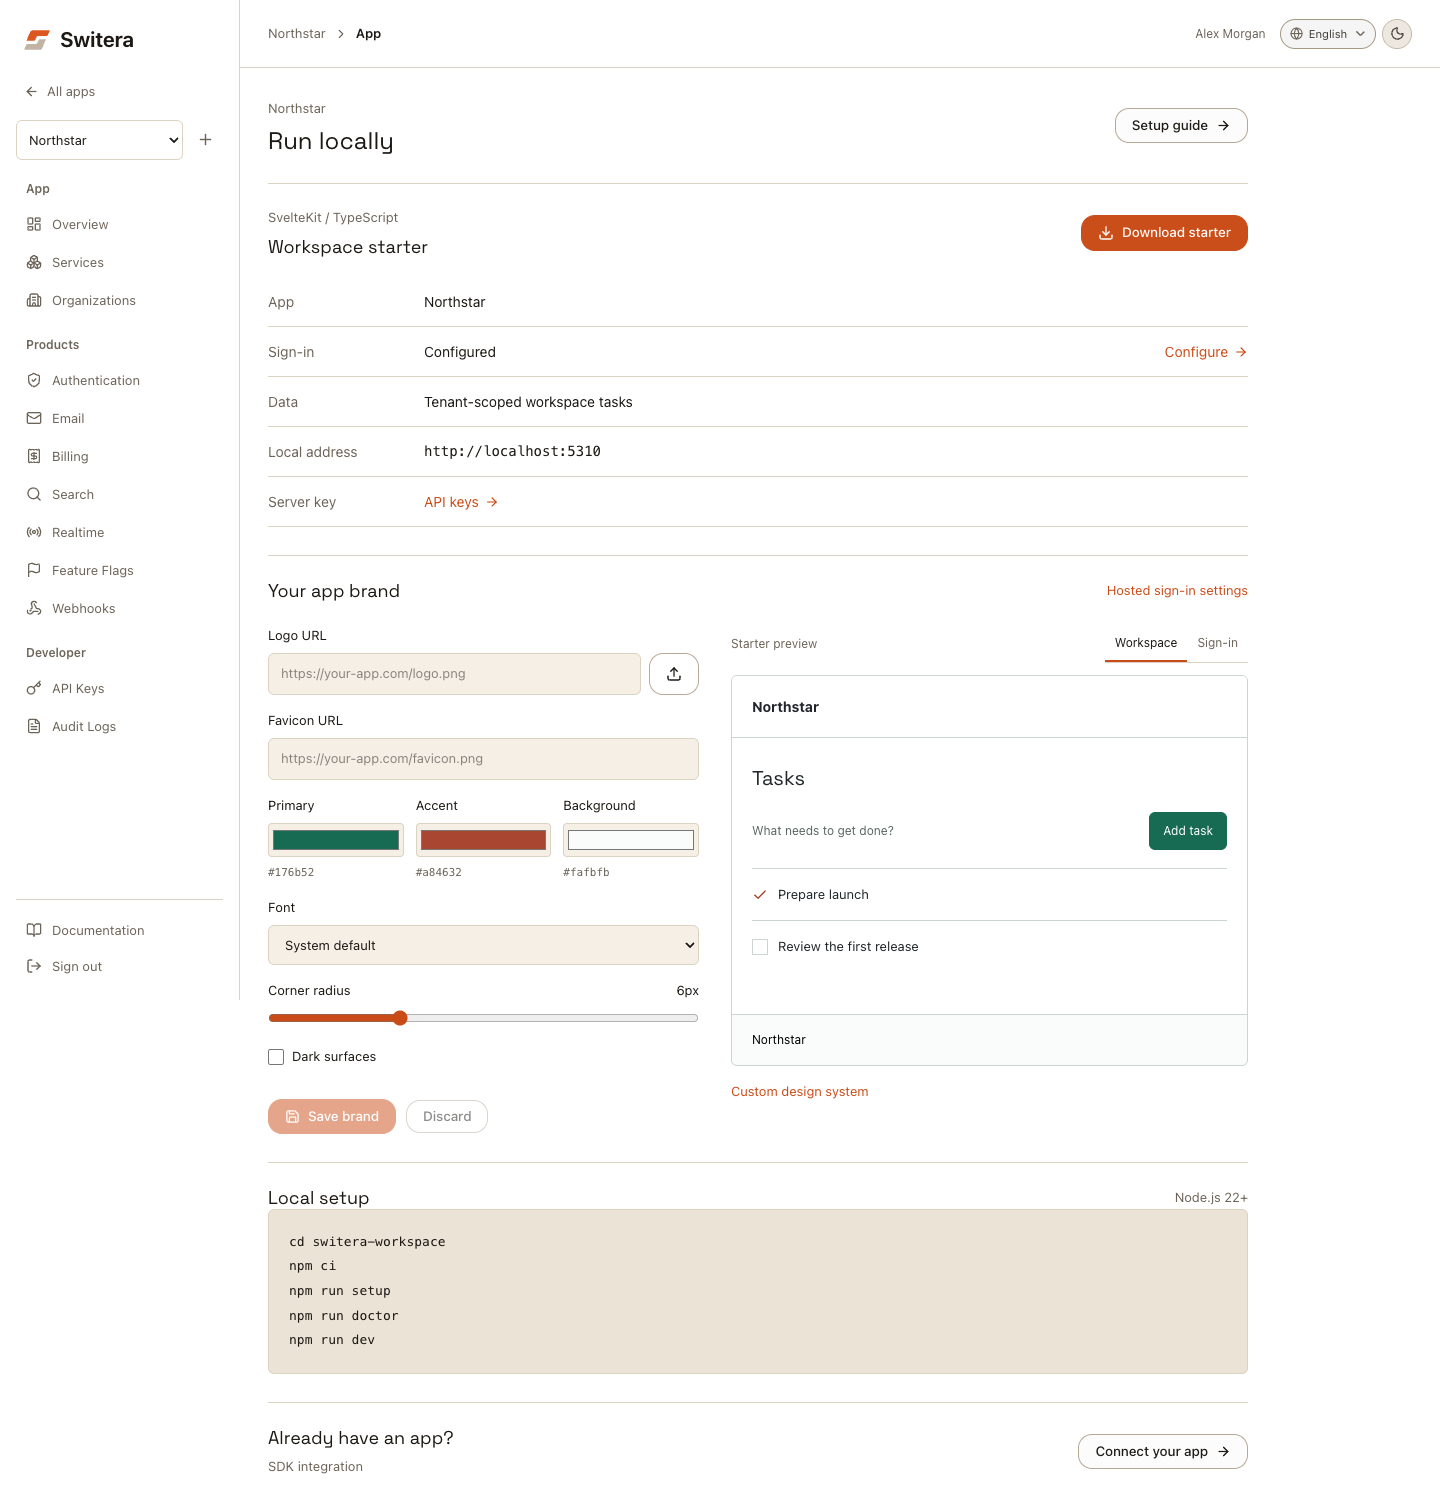
Create an app in Switera. New apps open Run locally. For an existing app, open Overview > Run locally.
In Authentication, enable the sign-in method your users need and save. Keep email verification enabled for real users. In Email, configure the sender and check delivery to a mailbox you control. The starter uses Switera's hosted account flows, so account policies and account email remain in Switera.
The starter does not duplicate your login form or verification codes locally. New sign-ins use your current hosted Auth configuration. App naming is read from Switera when the local page loads, not frozen at download time.
Your brand and design system
Configure without editing code
- Open Run locally > Your app brand.
- Upload a logo or enter its HTTPS URL. Add a favicon URL if needed.
- Choose primary, accent and background colors, a font, corner radius and light or dark surfaces. Inspect the Workspace and Sign-in starter previews.
- Select Save brand. Save or discard drafts before downloading.
- Refresh your running starter to load the saved brand.
These controls update the app's existing hosted Auth branding, not a second copy of those settings. Only edited fields are saved: your hosted welcome message, button text and background image remain unchanged. Hosted sign-in uses its own layout; the Sign-in preview here is the starter's entry screen.
The starter uses your app name, logo and favicon, with no fixed Switera logo or footer. Hosted sign-in retains its existing platform attribution. This is not a full white-label hosting or custom-domain feature.
Uploads accept PNG, JPEG and WebP up to 512 KB. Images must be publicly readable. An unavailable logo falls back to the app name. Named fonts use Google Fonts; System default makes no external font request. Brand colors and URLs are validated before becoming starter styles; credentials are never exported.
Use your existing design system
You own the downloaded source. The SDK does not impose a component library or CSS. Start with these files:
| File | Customize |
|---|---|
src/lib/product.ts | Optional local product name, footer and brand overrides |
src/lib/design-system.css | Semantic tokens, spacing, width, local fonts and component styles |
src/lib/components/AppBrand.svelte | Logo and name presentation, including your local image assets |
src/lib/components/AppTheme.svelte | Theme boundary, font and favicon loading |
src/routes/+page.svelte | Replace the task UI with your product components |
For example, map your design-system tokens in design-system.css:
.app-shell {
  --color-primary: var(--your-action-color, #134e4a);
  --color-on-primary: #ffffff;
  --font-body: "Your font", system-ui, sans-serif;
  --control-radius: 4px;
  --content-width: 1120px;
  --control-height: 44px;
}
Also available: --color-accent, --color-background, --color-on-background,
--color-surface, --color-text, --color-muted, --color-border,
--color-subtle, and --page-padding. Check contrast after overriding pairs.
The default theme chooses black or white button text from your primary color.
Use @font-face for licensed fonts in static/fonts/. Set
product.branding.font_family to '' when replacing a console-selected font
locally, so the starter no longer requests that remote font.
Precedence is saved app branding, then explicit local product.ts overrides,
then your CSS tokens. Remove a local override to inherit the saved value again.
Local files do not change hosted sign-in or email templates. Email has its own
Email > Sender & Brand > Brand settings. Keep the server key, token checks,
tenant membership enforcement and callback flow unchanged when replacing UI.
This is code-level design ownership plus basic brand controls, not a no-code page builder, Figma importer or automatic design-system conversion.
2. Download and install
You need Node.js 22 or newer and internet access. Select Download starter, extract the ZIP, then open a terminal in the extracted folder:
cd switera-workspace
npm ci
The download contains your public app identifiers and SDK packages matched to the starter revision. It does not contain an API key. The included npm lockfile makes the install repeatable; you do not need unpublished packages from npm or paths into Switera's source repository.
3. Connect the server
Open your app's Developer > API Keys. Use a server secret key with these
permissions: view, manage_tenants, manage_settings. Use a fresh development
app while learning the starter. Keep the secret on your server only.
If the original secret is no longer available, Rotate replaces keys for the selected environment. Do not rotate an environment used by other clients without updating those clients. Test/live key labels do not create separate databases inside the same app; a separate development app avoids mixing data.
npm run setup
Paste the key into the hidden terminal prompt. Review and confirm the changes:
- Register
http://localhost:5310/auth/callback, keeping existing callbacks. - Create the
switera_starter_tasks_v1tenant-scoped collection if absent. - Write the server connection to an owner-readable, Git-ignored
.envfile.
Setup never creates sample customers or task records, replaces Auth policy, or disables email verification. Re-running setup reuses a matching collection; an incompatible schema fails with an error rather than being overwritten. If a step fails after callback registration, correct the error and rerun setup.
4. Run the workspace
npm run doctor
npm run dev
Open http://localhost:5310. Doctor checks the app/key binding, callback, and storage schema. It does not prove login, email receipt, or data isolation.
- Select Create account and finish the hosted registration flow.
- Enter the real verification code from your mailbox when required.
- After returning to the local app, create a workspace.
- Add a task, refresh, complete it, and delete it.
- Create a second workspace and confirm the lists remain separate.
Use an end-user account for this flow. Your Switera builder-console login does not automatically become the login for your SaaS app.
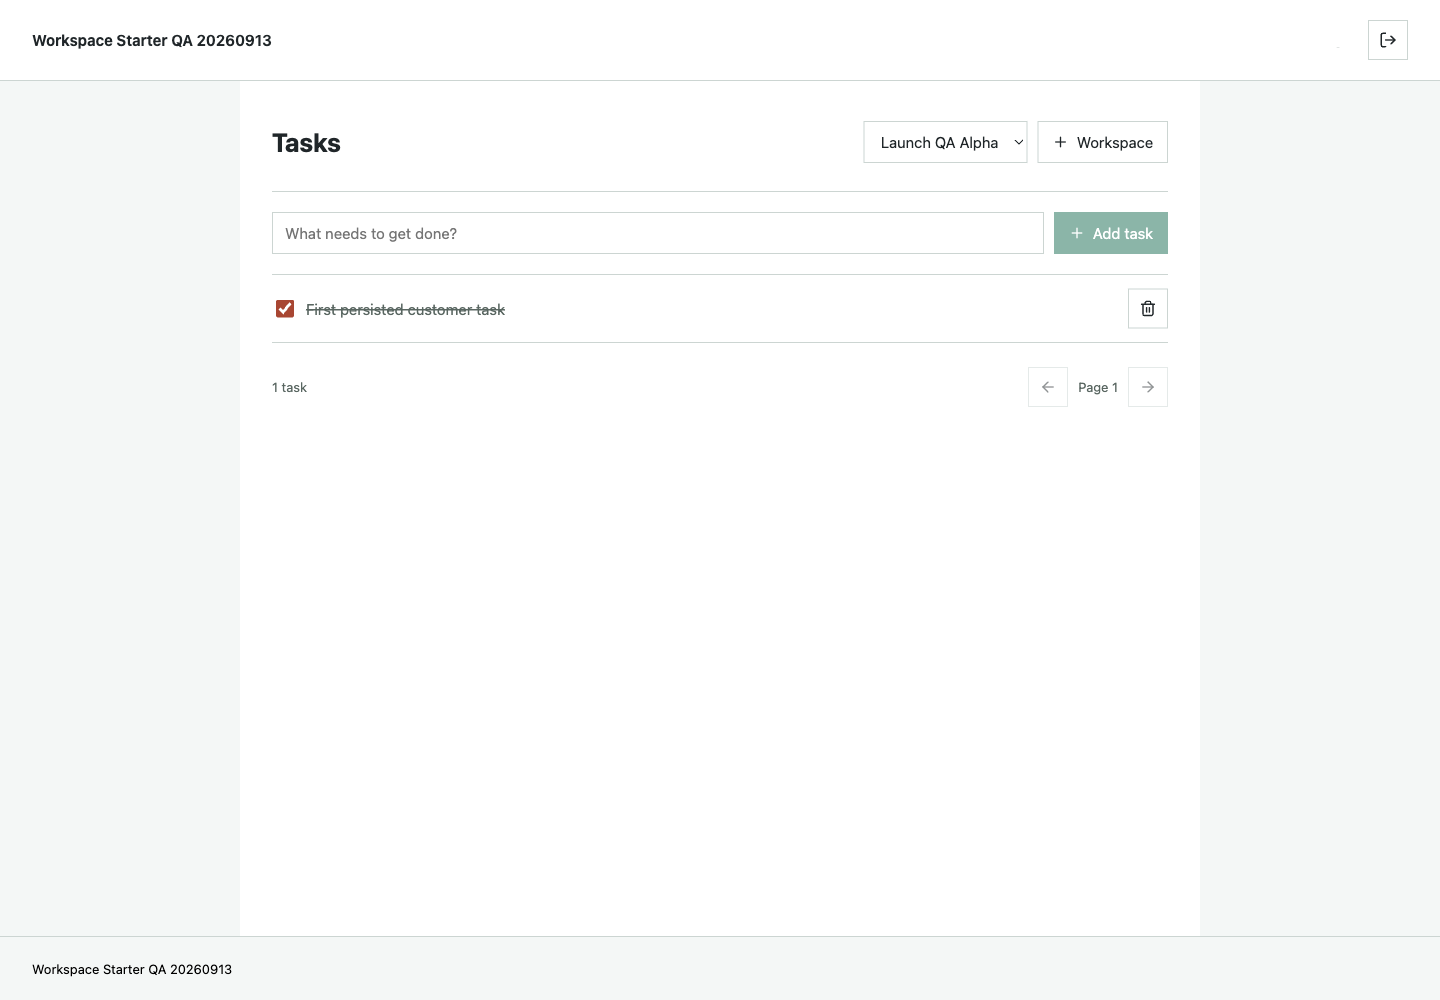
Tasks are stored in Switera, not browser memory. Server APIs independently validate the token's client/app, active app user, current email-verification policy, and current organization membership. An existing organization cannot be joined simply by changing a URL or identifier.
Troubleshooting
| Symptom | Action |
|---|---|
| Download disabled | Save or discard brand drafts; retry failed configuration reads. Confirm app access. |
| Logo does not load | Use a public HTTPS image URL; check availability. Uploaded assets resolve against Switera. |
| Console brand does not appear locally | Refresh; remove conflicting product.ts or CSS overrides. Upgrade older starter downloads manually. |
| Invalid key or permission error | Use this app's secret key, not a publishable key. Review scopes and expiration. |
| Collection schema differs | Use a separate app or restore the starter schema. Setup does not overwrite it. |
| Port already in use | Run ORIGIN=http://localhost:5311 npm run setup, then npm run dev -- --port 5311. Use the same hostname throughout. |
| Connection unavailable | Run doctor; check the key, callback and upstream availability. |
| Verification email missing | Check Email activity, routing, suppression and your mailbox. Do not substitute a preview code. |
| Workspace access unavailable | Check the active end user, email verification, organization status and membership in Switera. |
| Sign-out then sign-in returns quickly | Local sign-out clears this app's tokens. It does not revoke the hosted SSO session. |
Before launch
Run npm run check, npm test and npm run build. Test with two end users,
including denied cross-tenant access and removal of an existing membership.
Configure an HTTPS production origin and register its exact /auth/callback.
Use a hosting secret store, TLS, rate limits and monitoring.
The browser SDK manages end-user tokens in browser storage. The app's server key stays server-side. This is not an HTTP-only cookie BFF; account for XSS risk when adding third-party scripts. Data/settings key scopes are app-wide, not collection-specific, so never expose a generic management API proxy.
Use SDK and API coverage for other services and the activation checklist for launch validation. Framework deployment details follow the SvelteKit Node adapter.