Sign in and navigate Switera
Use this guide when you are opening Switera for the first time, returning to a workspace after an invitation, or helping a teammate understand where common setup work happens.
Sign in
Open Switera and choose the sign-in method enabled for your Builder account. The sign-in page is separate from the app workspace so you can authenticate before Switera loads any app data.
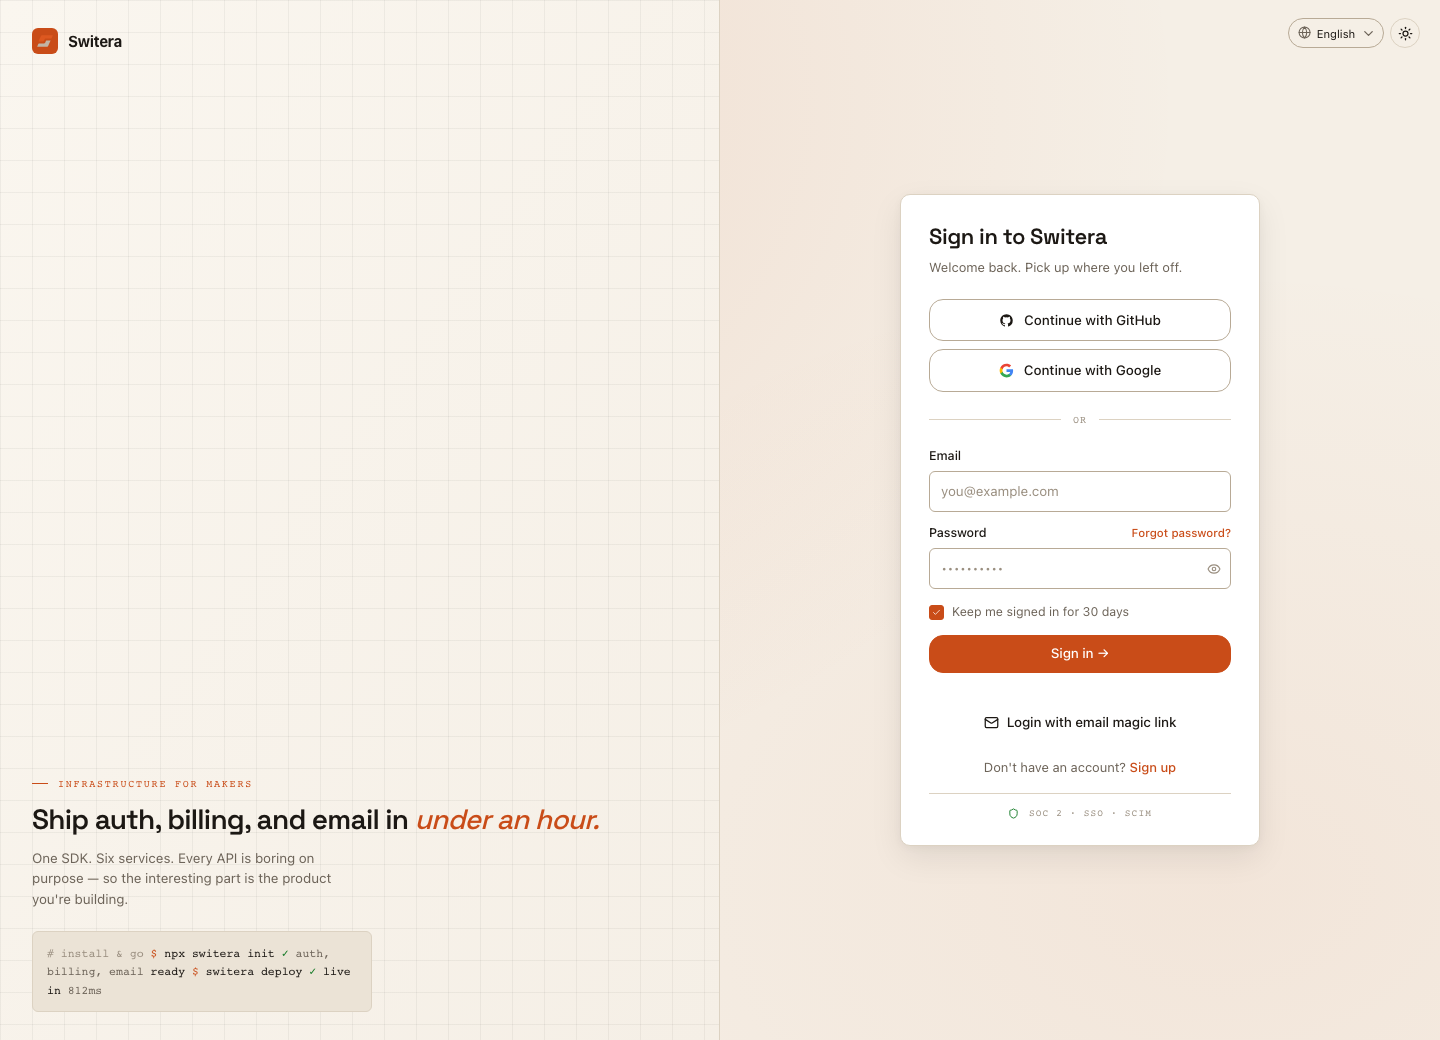
After a successful sign-in, Switera opens the dashboard. If you arrived from a specific invitation, setup, or hosted flow, Switera may continue that flow after authentication.
Create or recover access
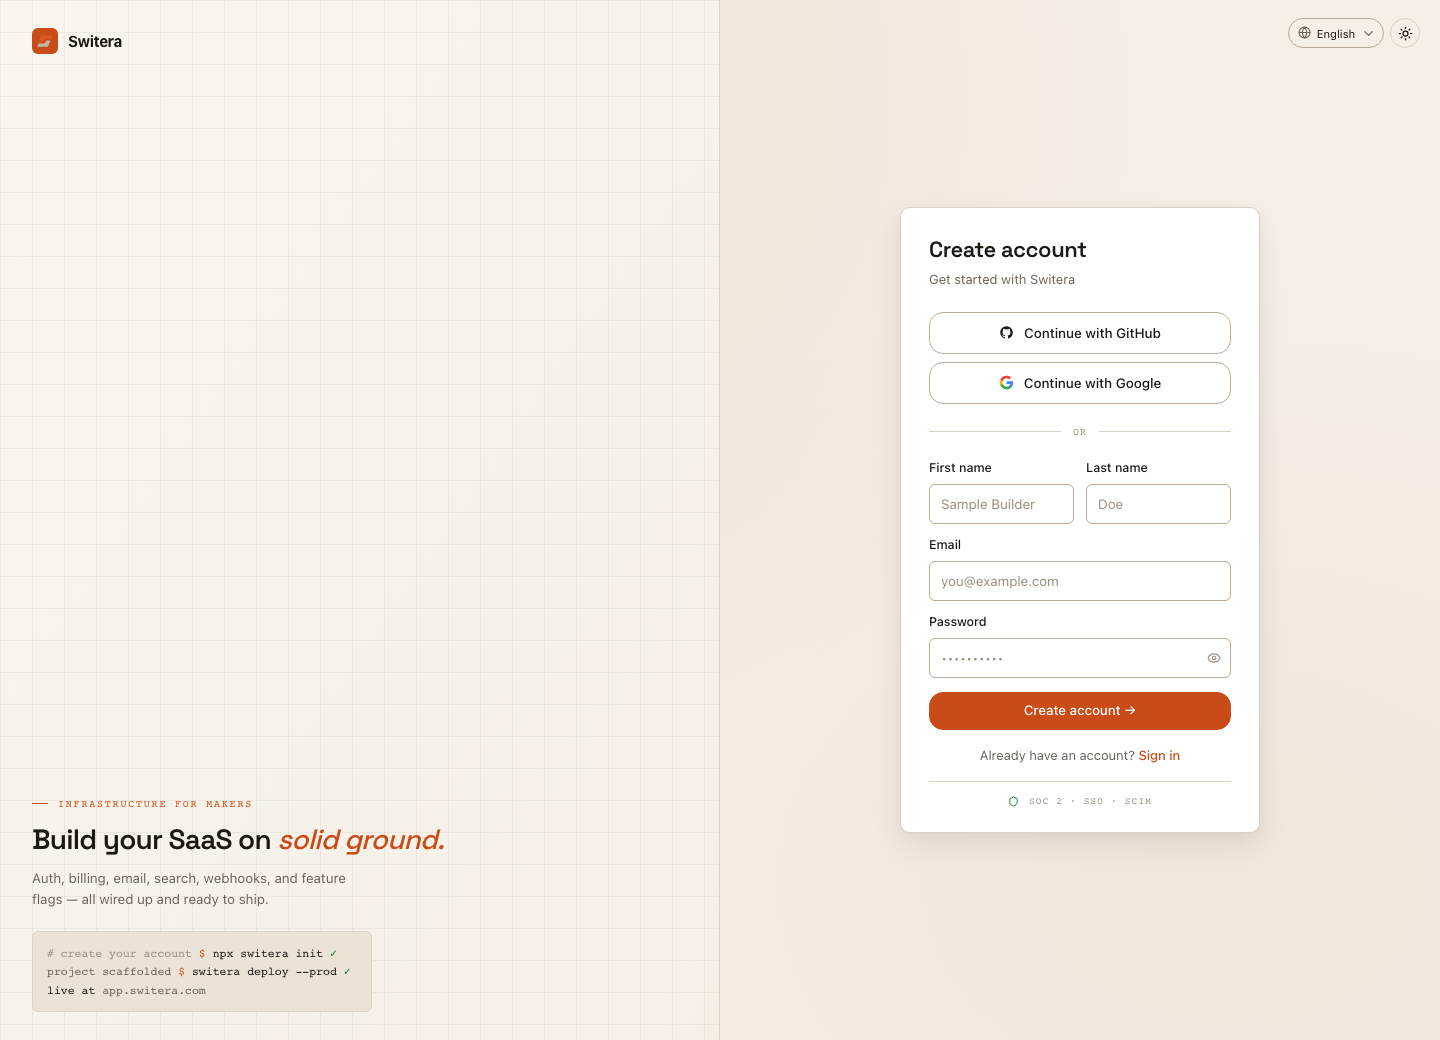
If you do not have an account yet, use the registration page. If you forgot your password or cannot enter with the current credentials, use account recovery instead of creating a second Builder identity.
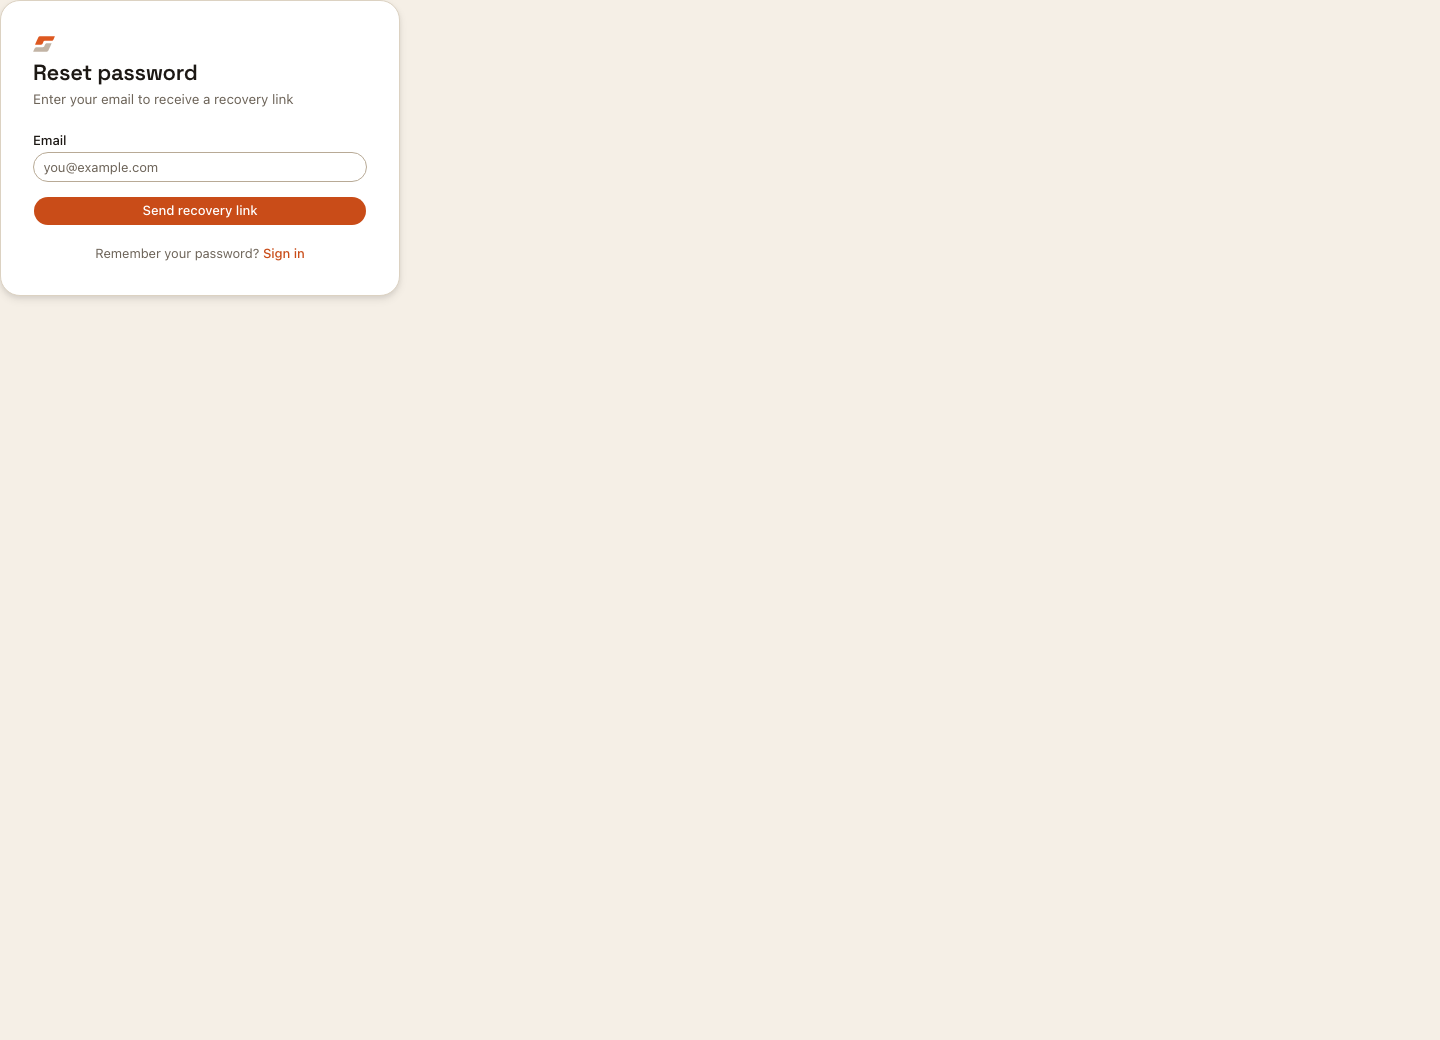
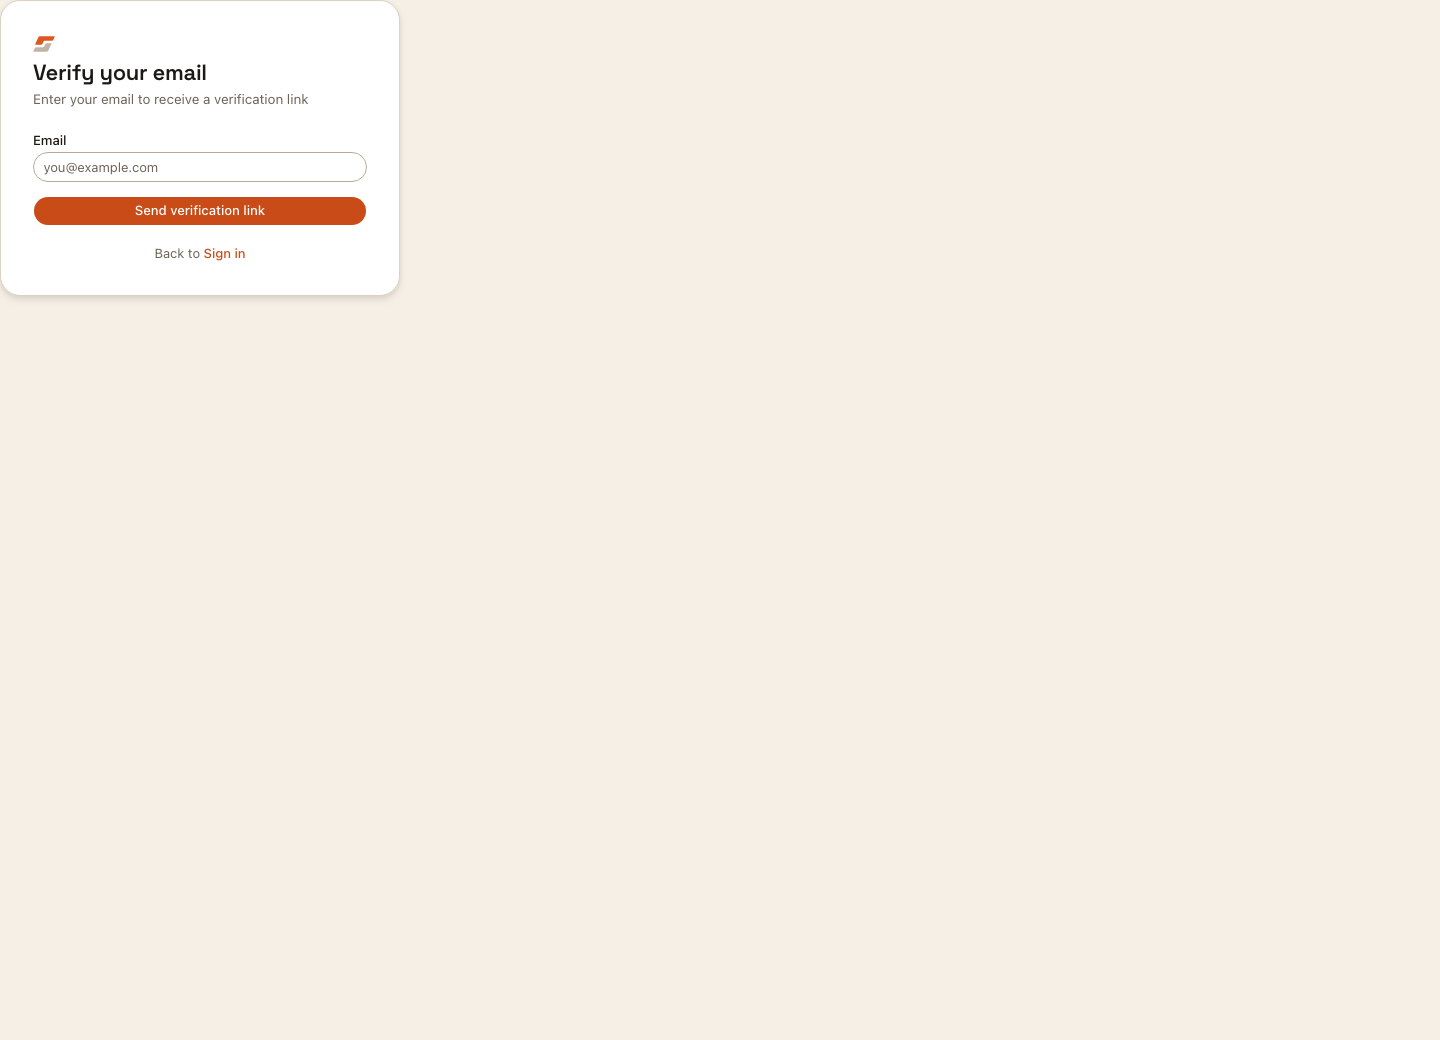
Some accounts must verify their email before all flows are available.
Read the dashboard first
The dashboard gives the workspace-level view across apps. Use it to see whether the workspace is empty, which apps need attention, and where you should continue.
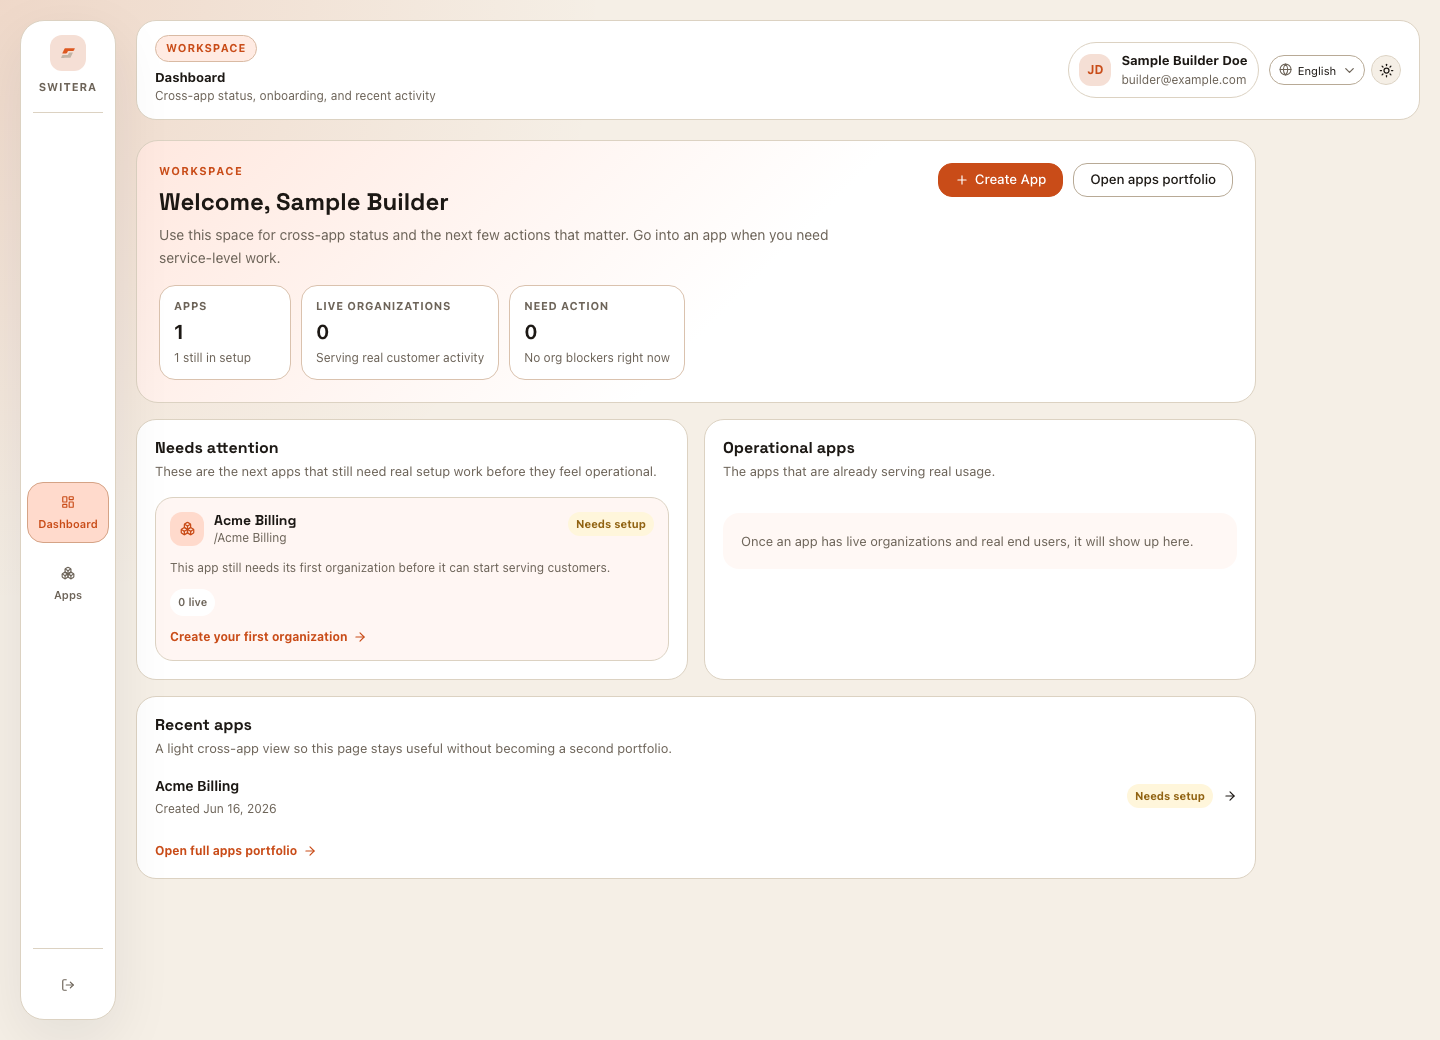
From the dashboard you can:
- open the apps portfolio
- create a new app
- jump into an app that already needs attention
- compare setup status across apps
- return to the last app you operated
Choose the right app
Most Switera work is app-scoped. Before changing Auth, email, webhooks, API keys, organizations, or users, confirm the selected app in the app switcher.
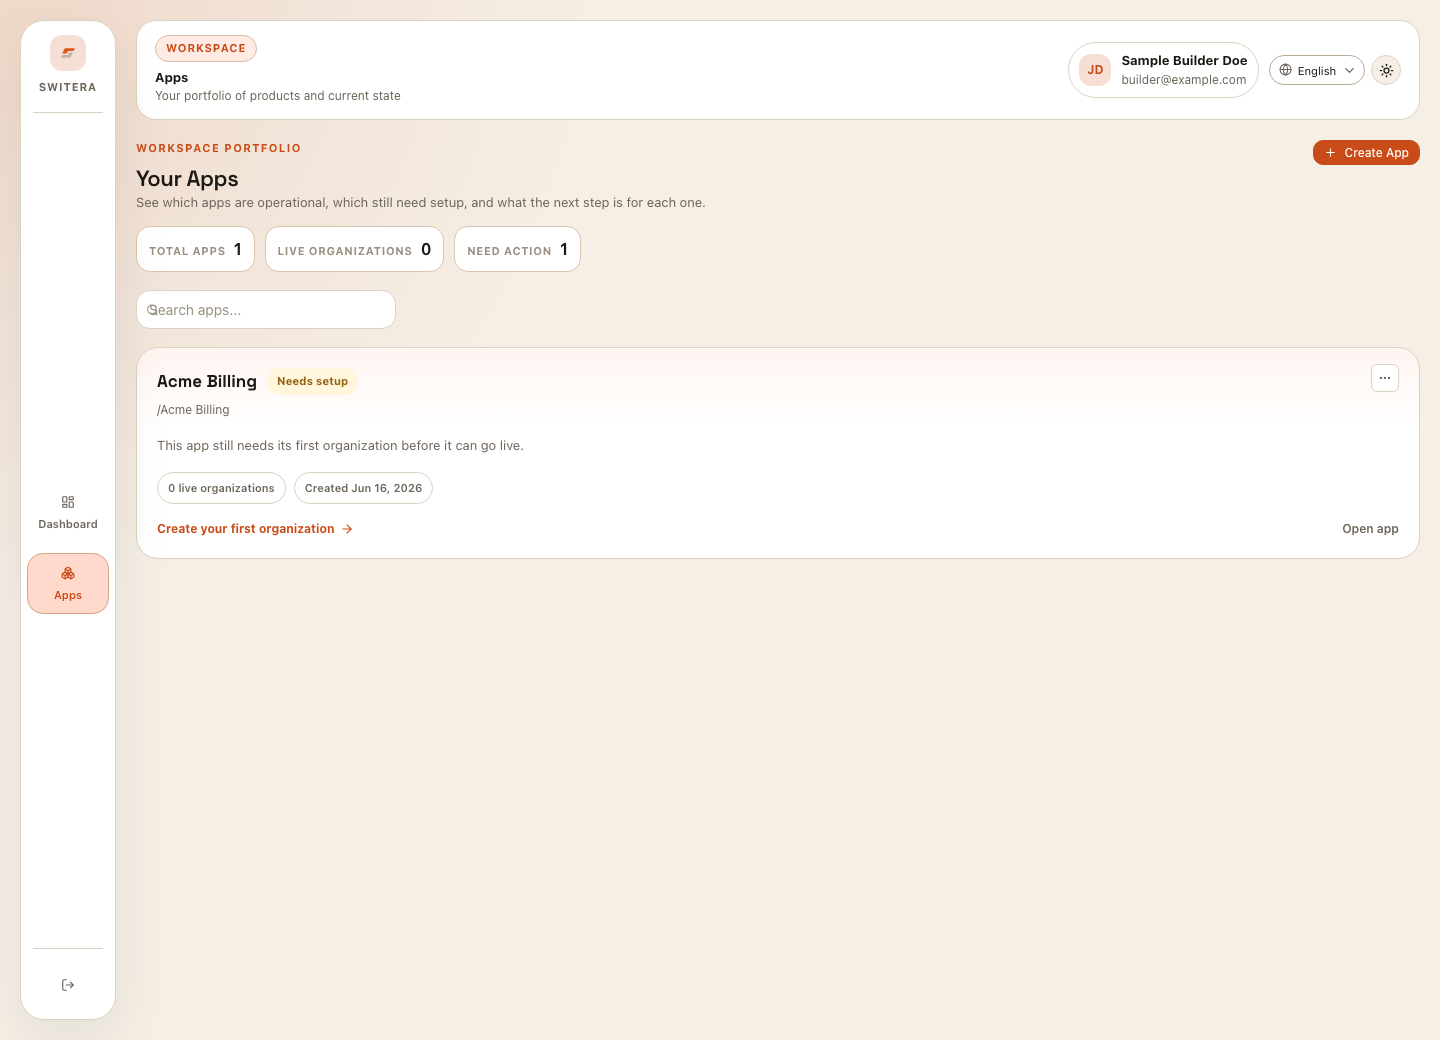
Open an existing app when you are changing the same product. Create a new app only when you need a separate product boundary, separate customer population, separate Auth setup, or separate integration credentials.
Understand the main navigation
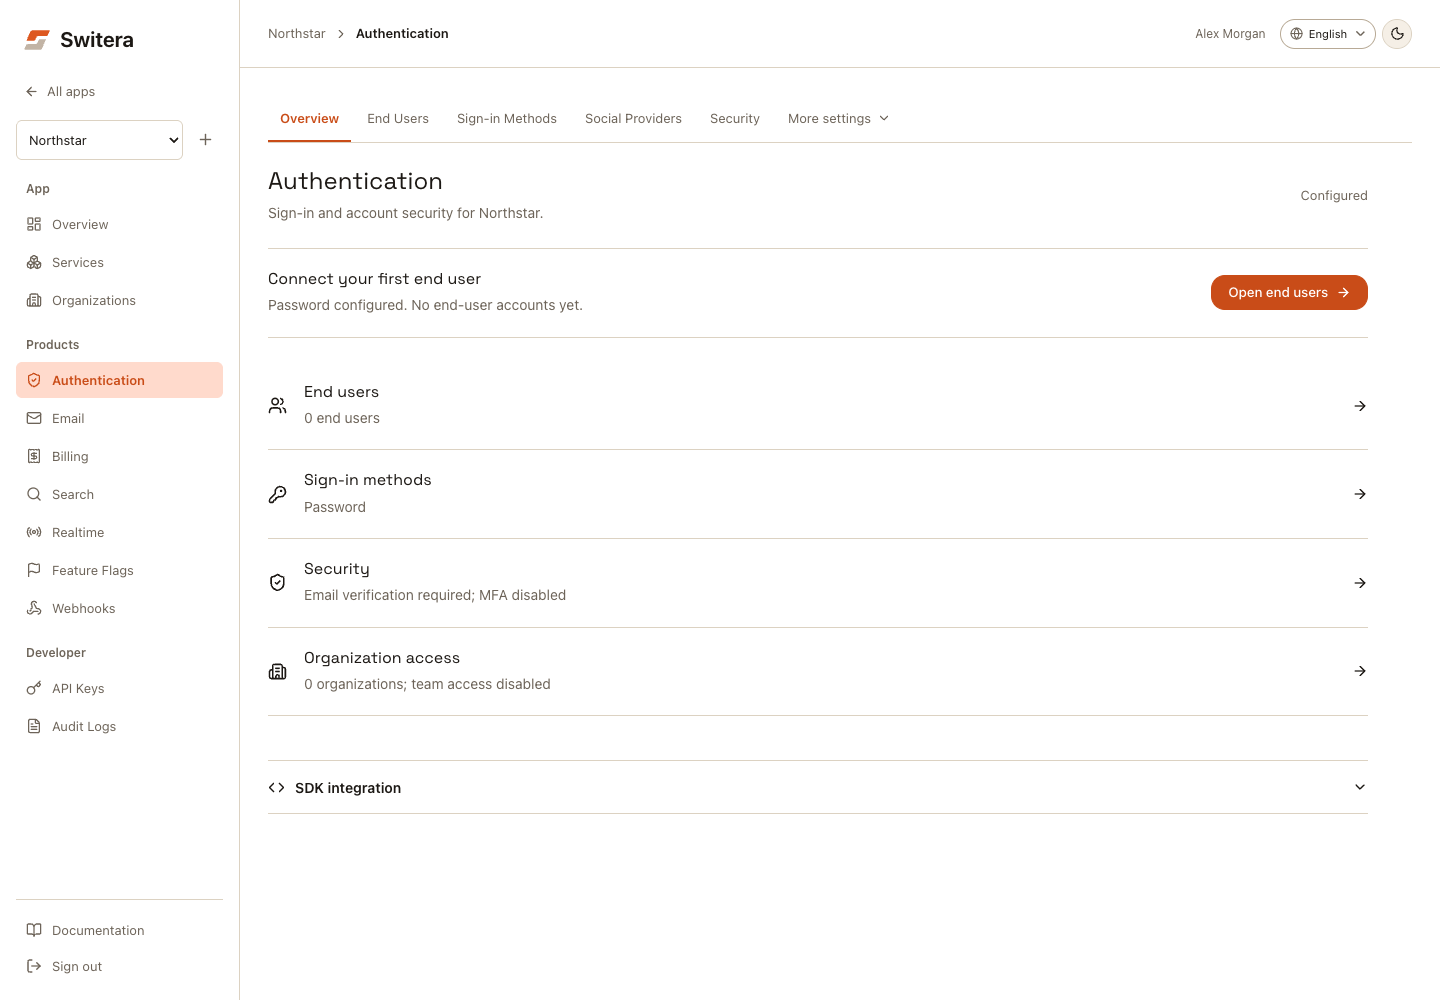
Inside an app, the left navigation groups work by operating area:
| Area | Use it for |
|---|---|
| App | Overview, the Services catalog, and customer Organizations. |
| Products | Authentication, Email, Billing, Search, Realtime, Feature Flags and Webhooks. |
| Developer | API Keys and Audit Logs. |
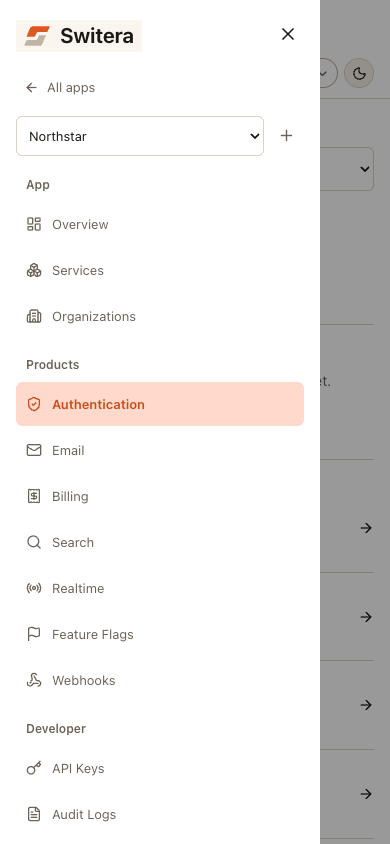
The breadcrumb names the current app and product. Use Current app in the sidebar to switch apps, or All apps to return to the app list. On a phone, open the navigation menu to reach the same destinations.
In Authentication, common tasks are visible immediately. More settings contains Branding, Organization Access, Enterprise SSO, Auth Hooks, Directory Sync and Compliance. On small screens, use the Authentication section selector. Existing links to individual settings still work.
Expand SDK integration on the Authentication or Email overview when you need integration examples. Keep secret API keys on your backend.
Recommended first path
For a new app, follow this order:
- Open Dashboard.
- Create or choose the app.
- Read the app Overview.
- Create the first organization if your product is B2B or team-based.
- Configure Products > Authentication.
- Prepare Products > Email before inviting users.
- Add Products > Webhooks only when a backend needs events.
- Copy Developer > API Keys only into trusted backend secret storage.
- Review Developer > Audit Logs after the first setup pass.
Continue with Create your first app.