Create your first app
Use this guide when your workspace is empty or when you want to add a new SaaS product to Switera. It follows the same path a Builder sees in the product: workspace dashboard, apps portfolio, app creation, organization setup, Auth, email, webhooks, API keys, and audit review.
Before you start
You need:
- access to a Switera Builder account
- the product name users will recognize
- a short app slug, usually lowercase with hyphens
- a decision about whether the first customer account should be represented as an organization
- access to the email, Auth provider, webhook receiver, and backend environments you plan to connect later
Step 1: Start from the workspace dashboard
Open Dashboard after signing in. The dashboard tells you whether the workspace has apps, whether any apps need action, and which app should be opened first.
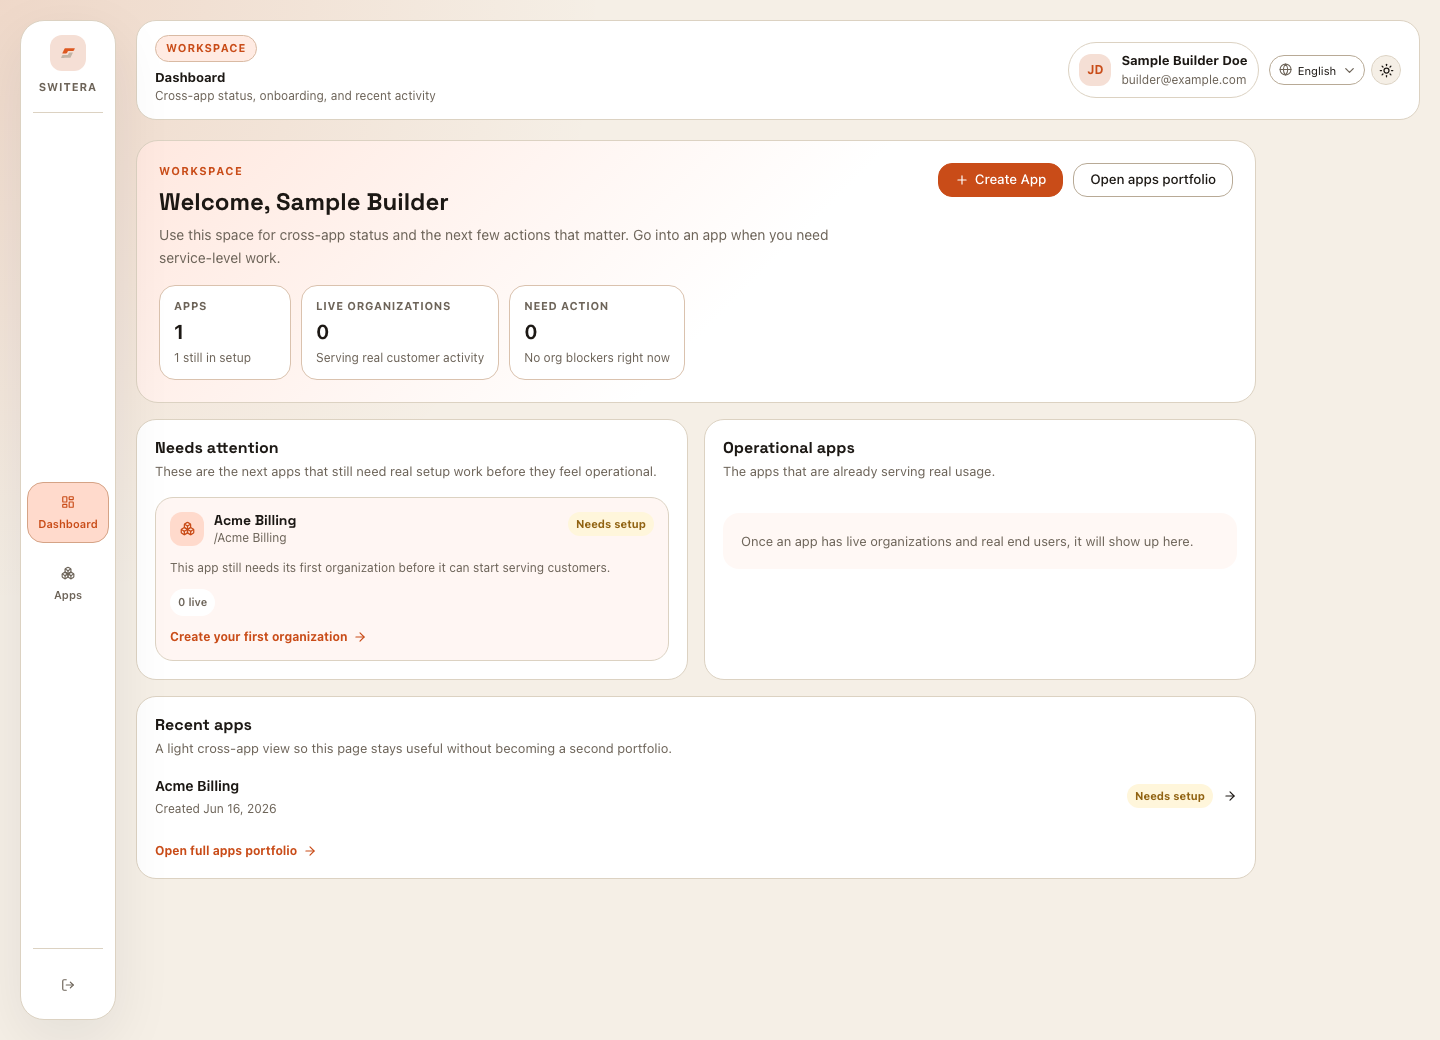
Select Create App if this is the first product in the workspace. Select Open apps portfolio if you want to review existing apps first.
Step 2: Review the apps portfolio
The apps portfolio lists every app you can operate. Each app card shows the app name, slug, current state, organization count, user count, and recommended next action.
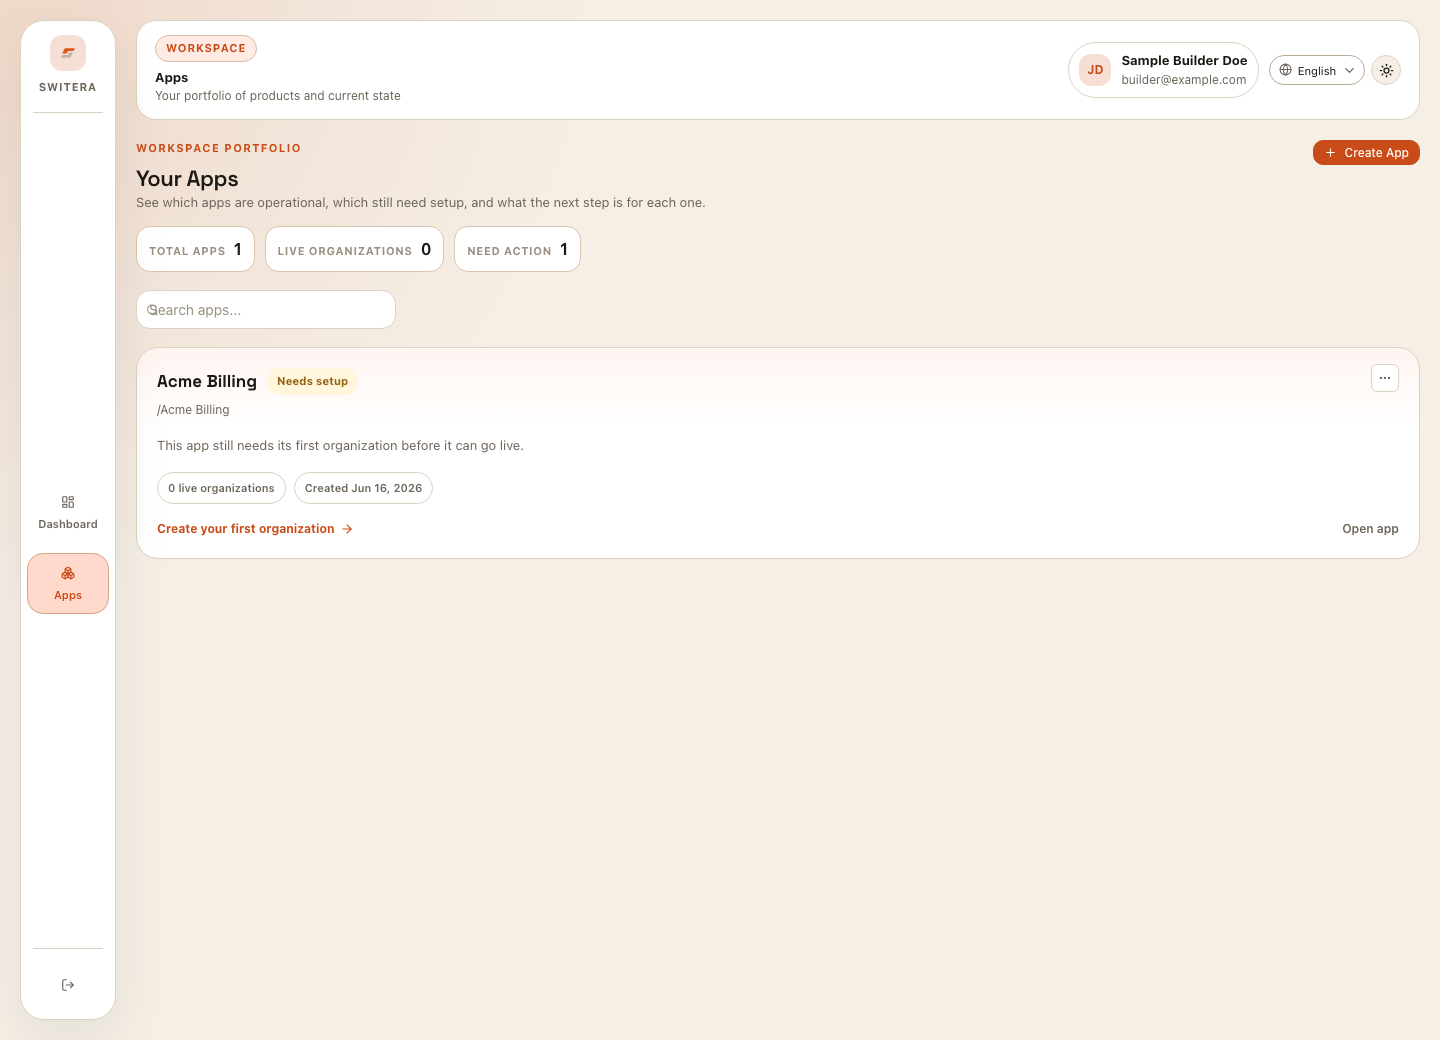
Create a new app when you are launching a separate SaaS product, separate customer-facing experience, or separate Auth and integration boundary.
Step 3: Create the app
Select Create App, then fill the form.
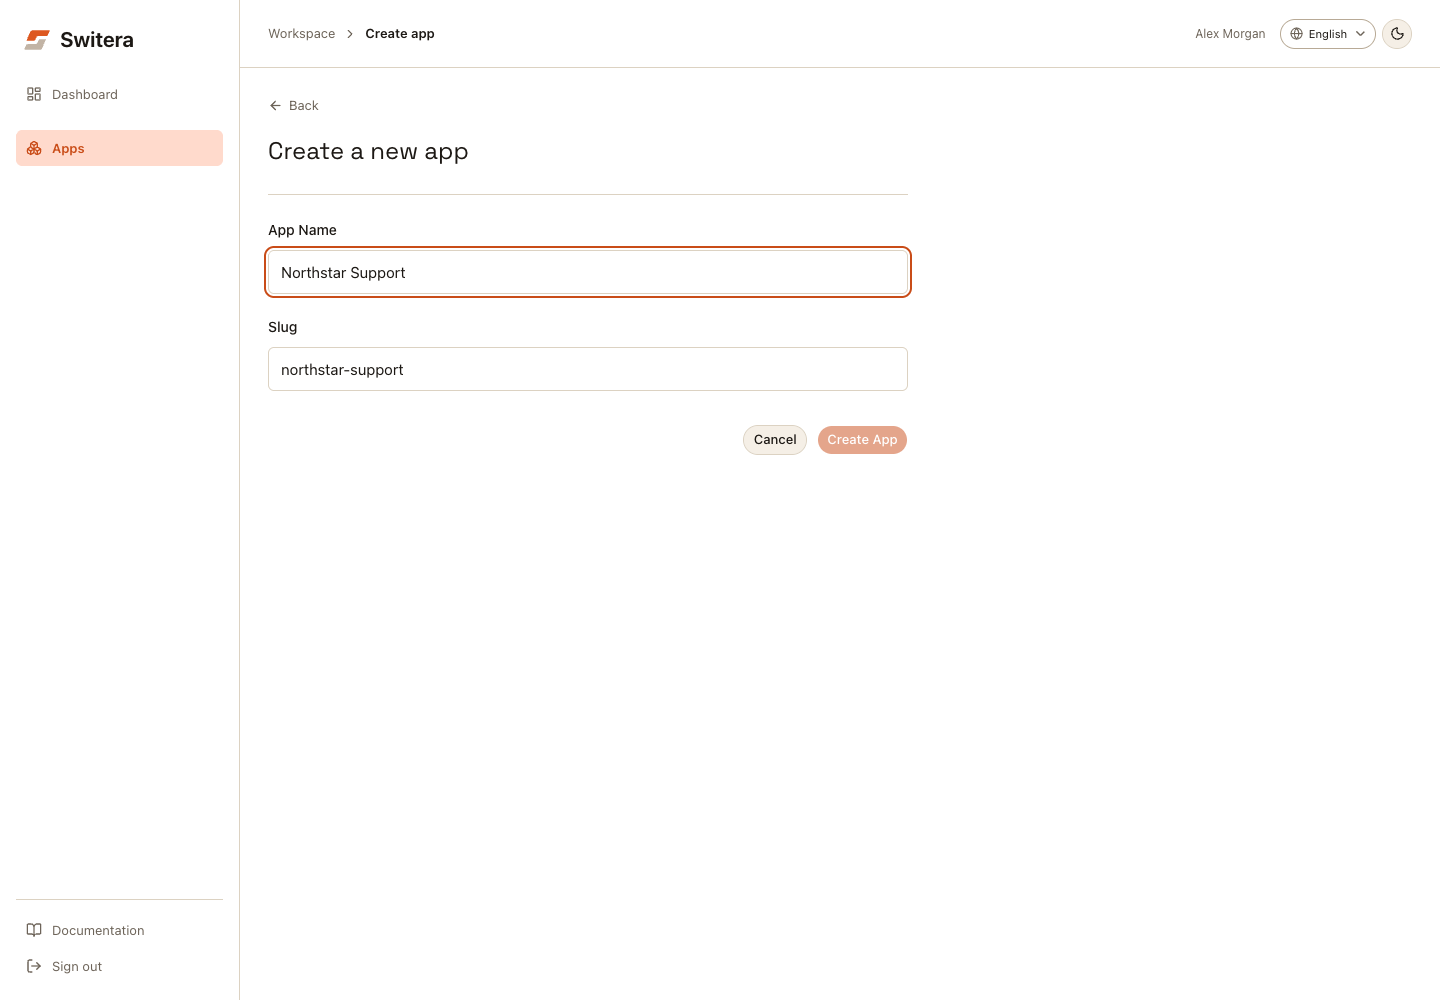
- Enter the app name.
- Enter or confirm the slug.
- Select Create App.
The app is created immediately and opens Run locally. Follow the SvelteKit starter guide for a downloadable workspace, or choose Connect your app for the SDK integration path. You can return to the app Overview for configuration checks at any time.
Step 4: Read the app overview before changing settings
The app overview is the operating home for one app. It explains whether the app is still in setup, what needs attention, which required launch checks are complete, and which action should happen next.
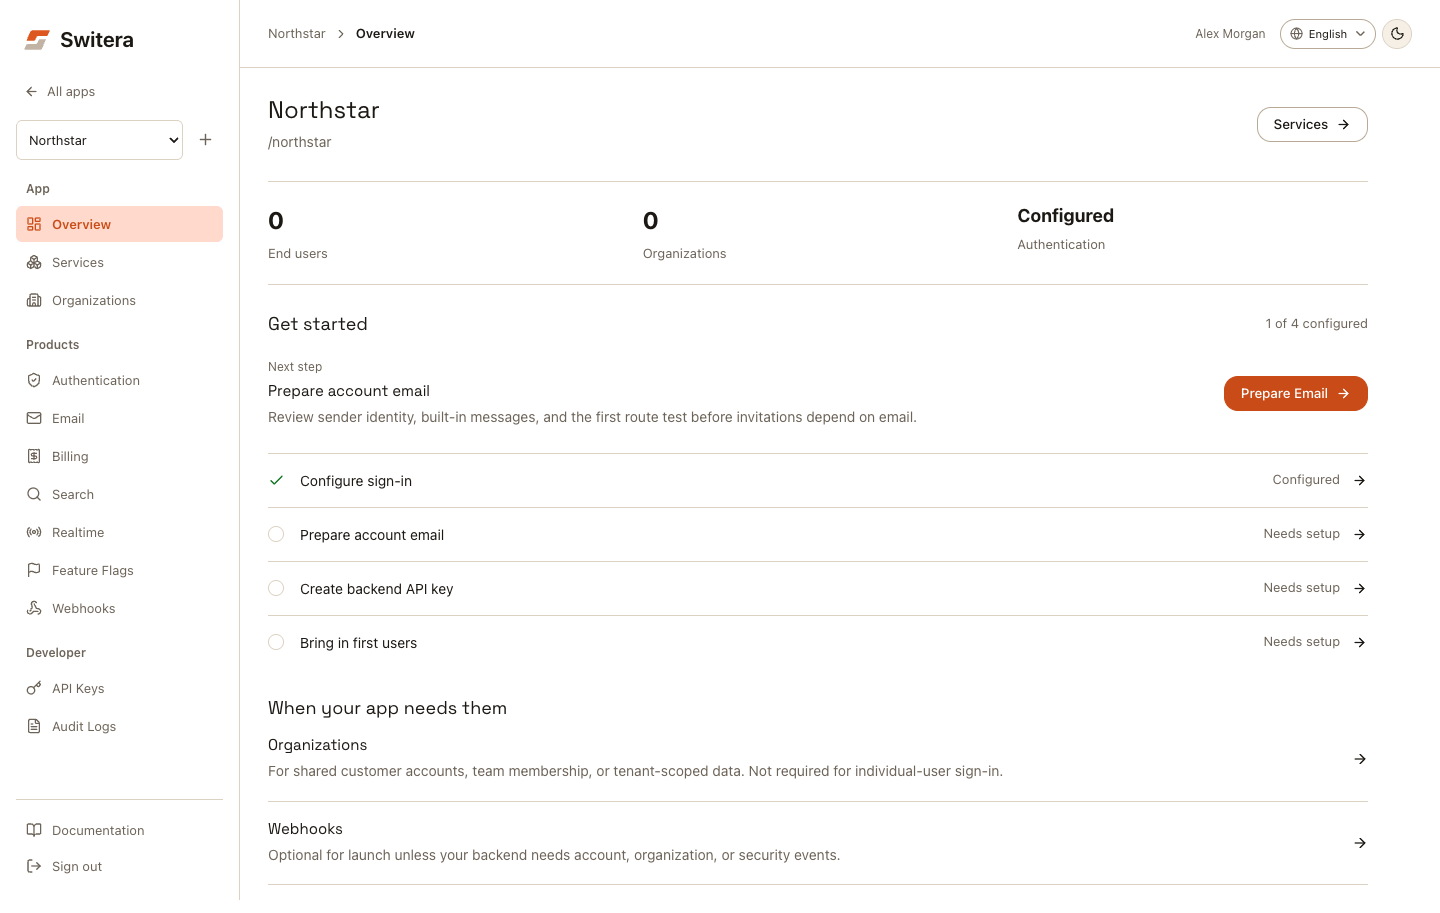
Use the overview to answer:
- does this app have a customer organization yet?
- is Auth ready for end users?
- is account email ready enough for invitations, verification, and recovery?
- is a backend API key available for SDK or REST calls?
- are external notifications configured if the backend needs events?
- what is the next setup action?
The Get started sequence covers sign-in, account email, backend API key, and first users. Organizations and Webhooks are separate, conditional steps. The score counts configuration, not successful sign-in or email delivery.
Step 5: Create an organization if your product needs one
Use organizations for shared customer accounts, team membership, and tenant-scoped services. Individual-user sign-in does not need an organization; skip this step for that journey. For a team-based app, open Organizations, then select Create Organization.
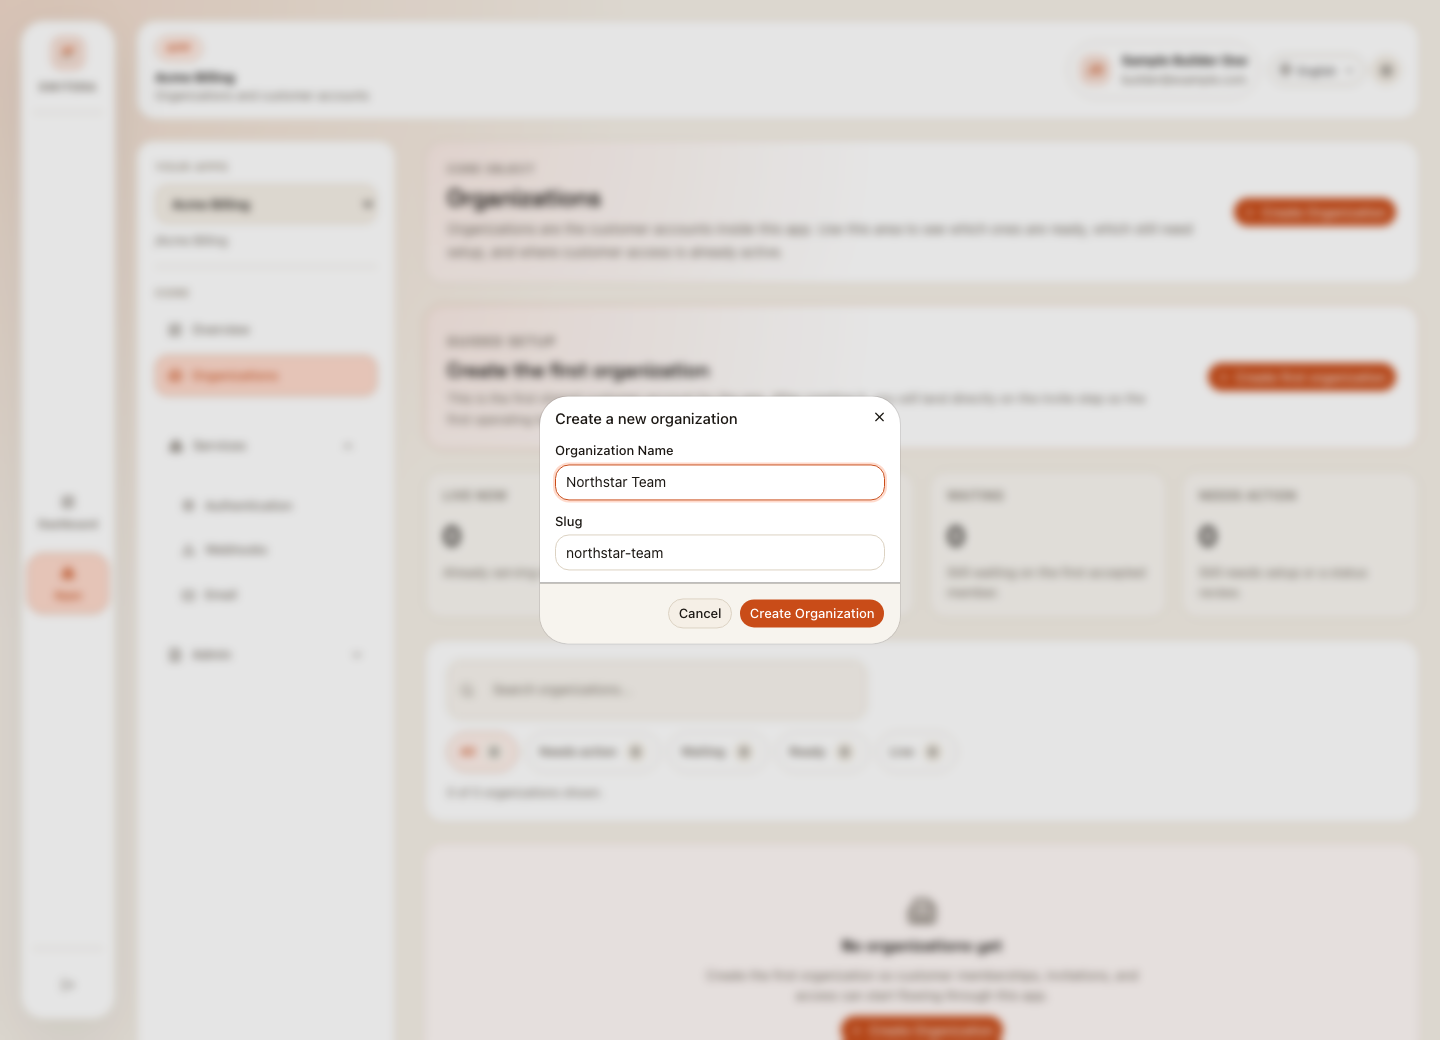
- Enter the organization name.
- Confirm the slug.
- Select Create Organization.
- Open the organization and invite the first operating team when ready.
Do not invite real customers until Auth and email are reviewed.
Step 6: Configure the first sign-in method
Open Products > Authentication, then open Sign-in Methods. Start with one primary method, then add advanced methods after the basic login path works.
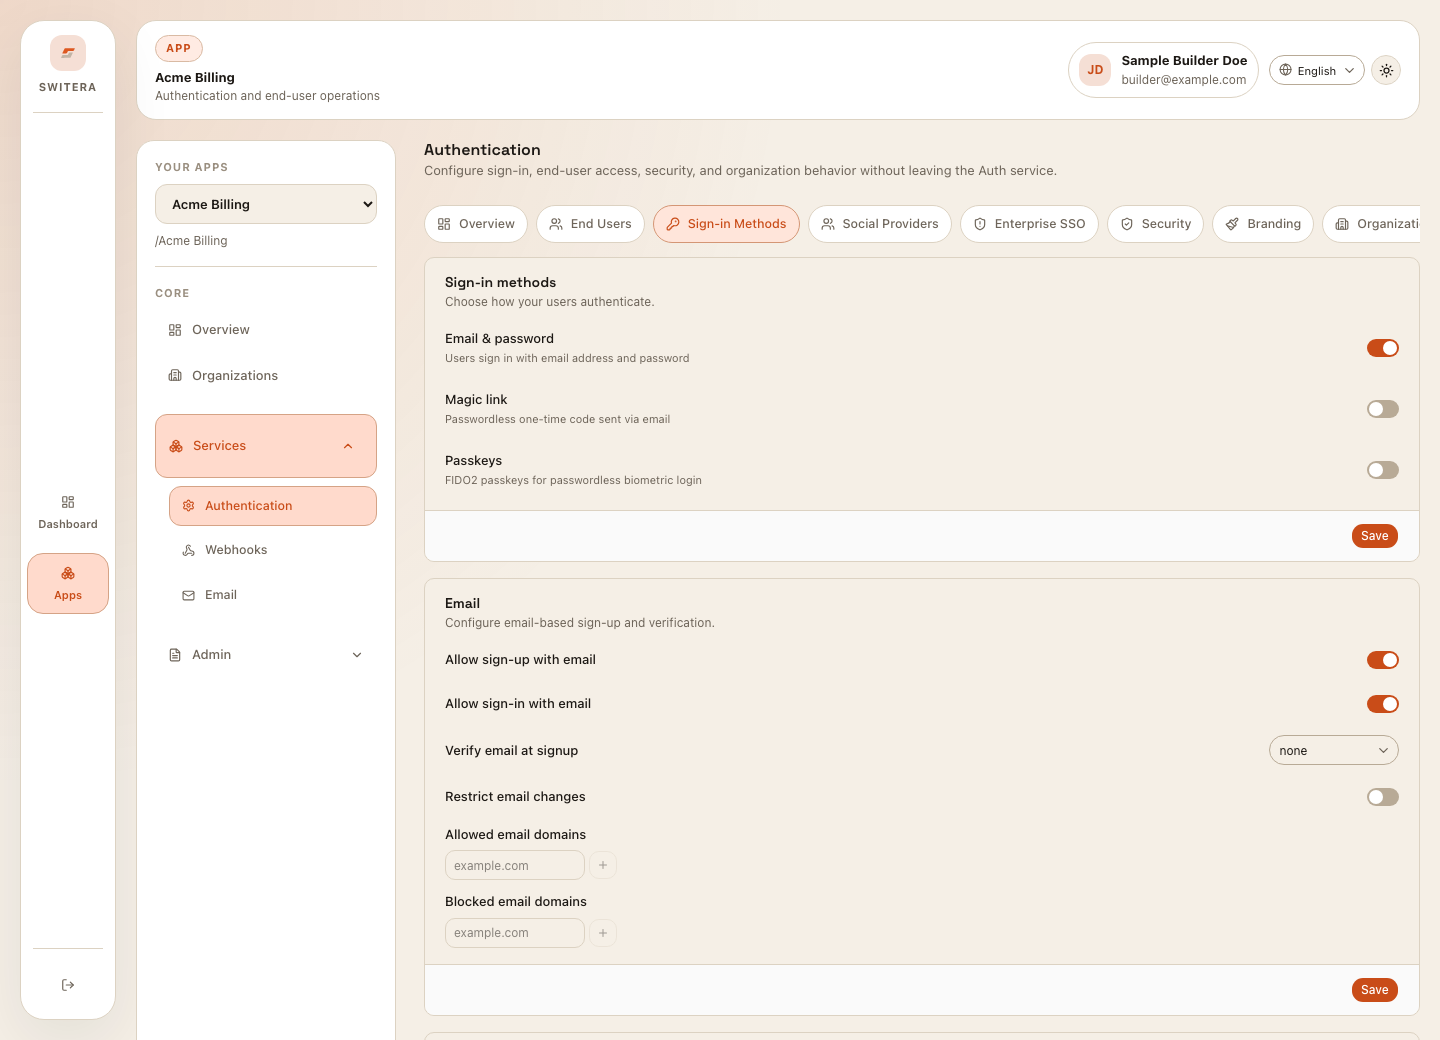
Recommended first setup:
- Enable the sign-in method your first users will actually use.
- Keep email verification enabled for real users.
- Save the Auth settings.
- Test login with a test user before inviting customers.
Step 7: Prepare email
Open Products > Email. Email must be ready before invitations, verification, recovery, and account notices can feel trustworthy to end users.
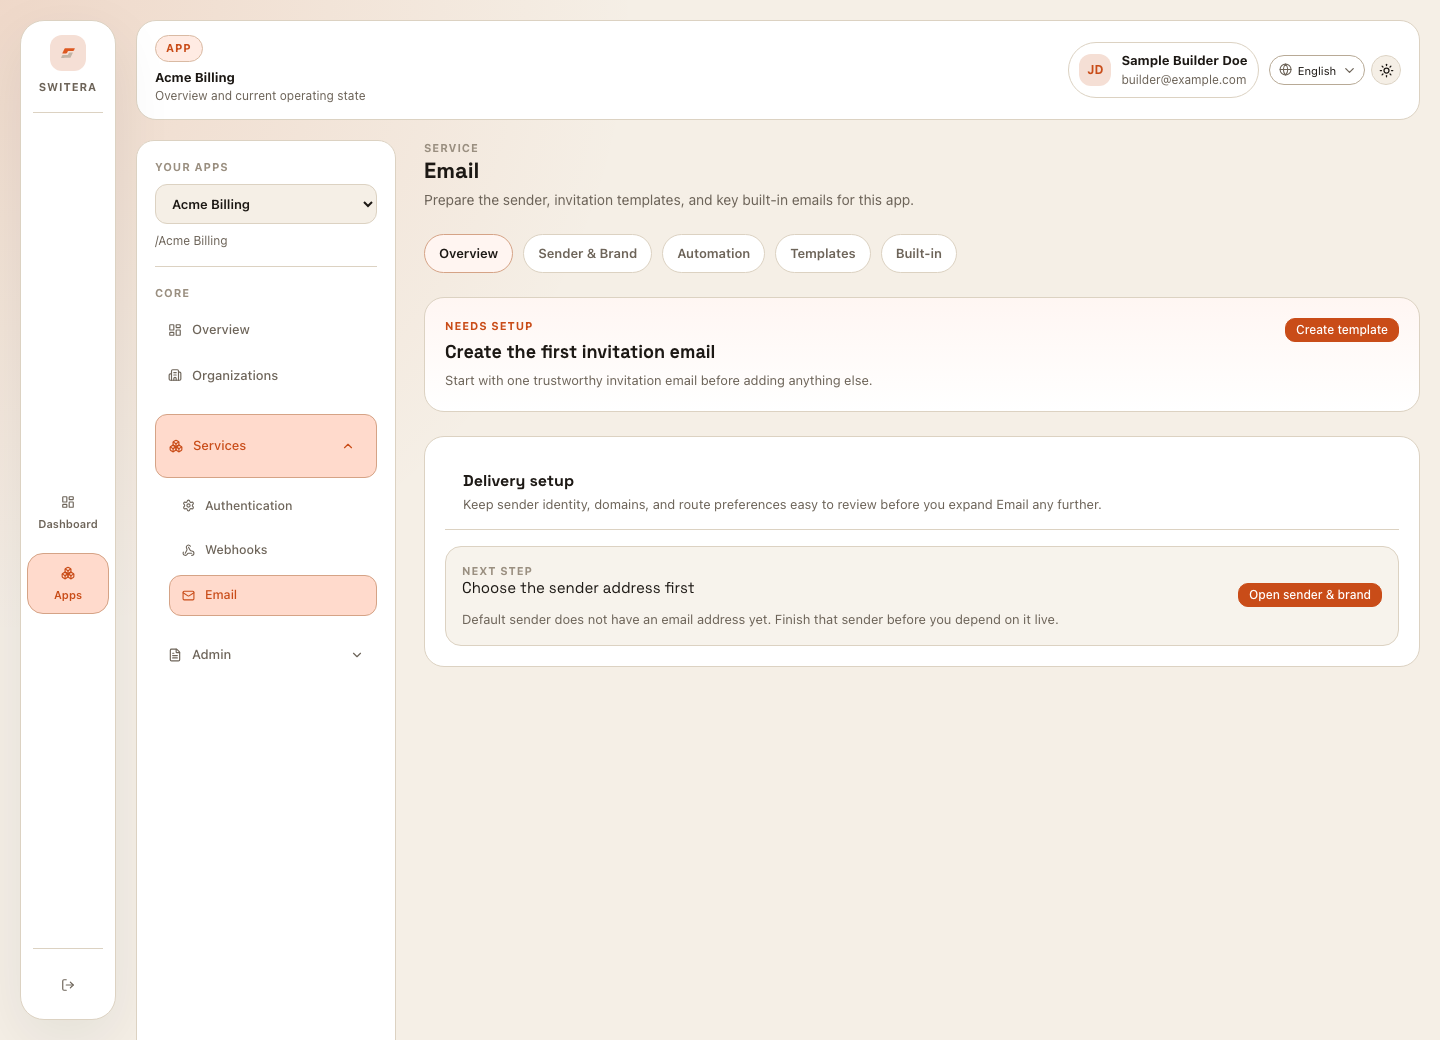
At minimum, check:
- sender name and sender address
- reply-to behavior
- invitation template
- built-in verification and recovery emails
- route test to a monitored mailbox
Step 8: Add webhooks only when a backend needs events
Open Products > Webhooks if your backend, automation workflow, or support tooling needs to react to Switera events.
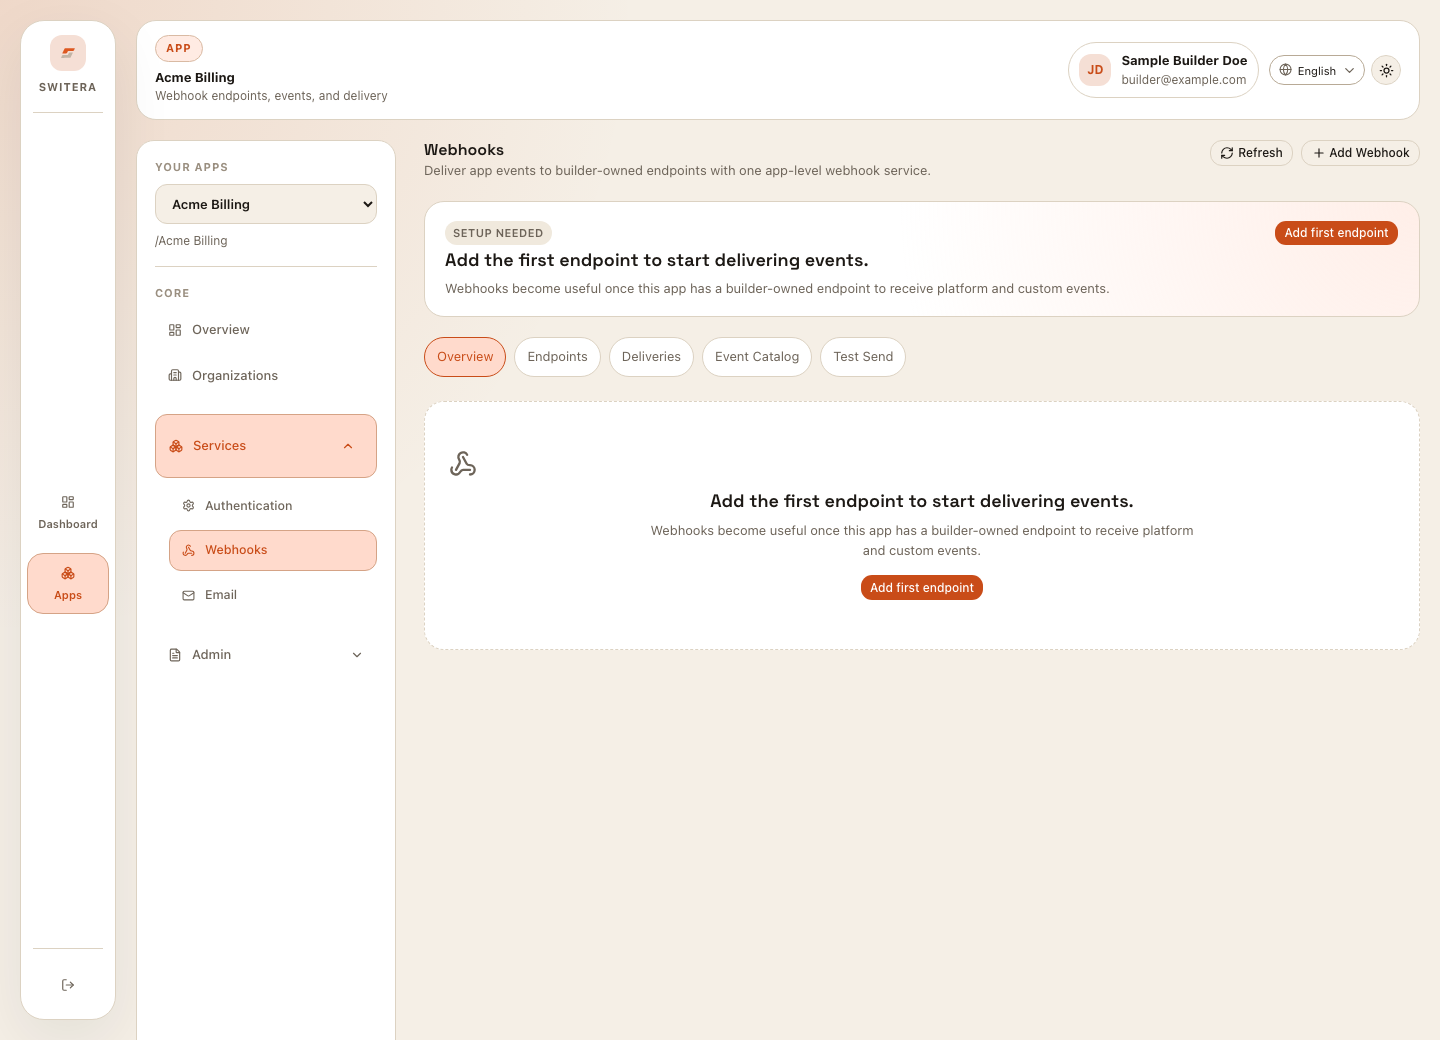
Keep the first endpoint narrow:
- Add one HTTPS receiver.
- Subscribe only to the event types your backend handles.
- Store the endpoint secret safely.
- Send a test event.
- Check delivery attempts before enabling broad event traffic.
Step 9: Copy API keys from a trusted machine
Open Developer > API Keys when your backend needs to call Switera APIs.
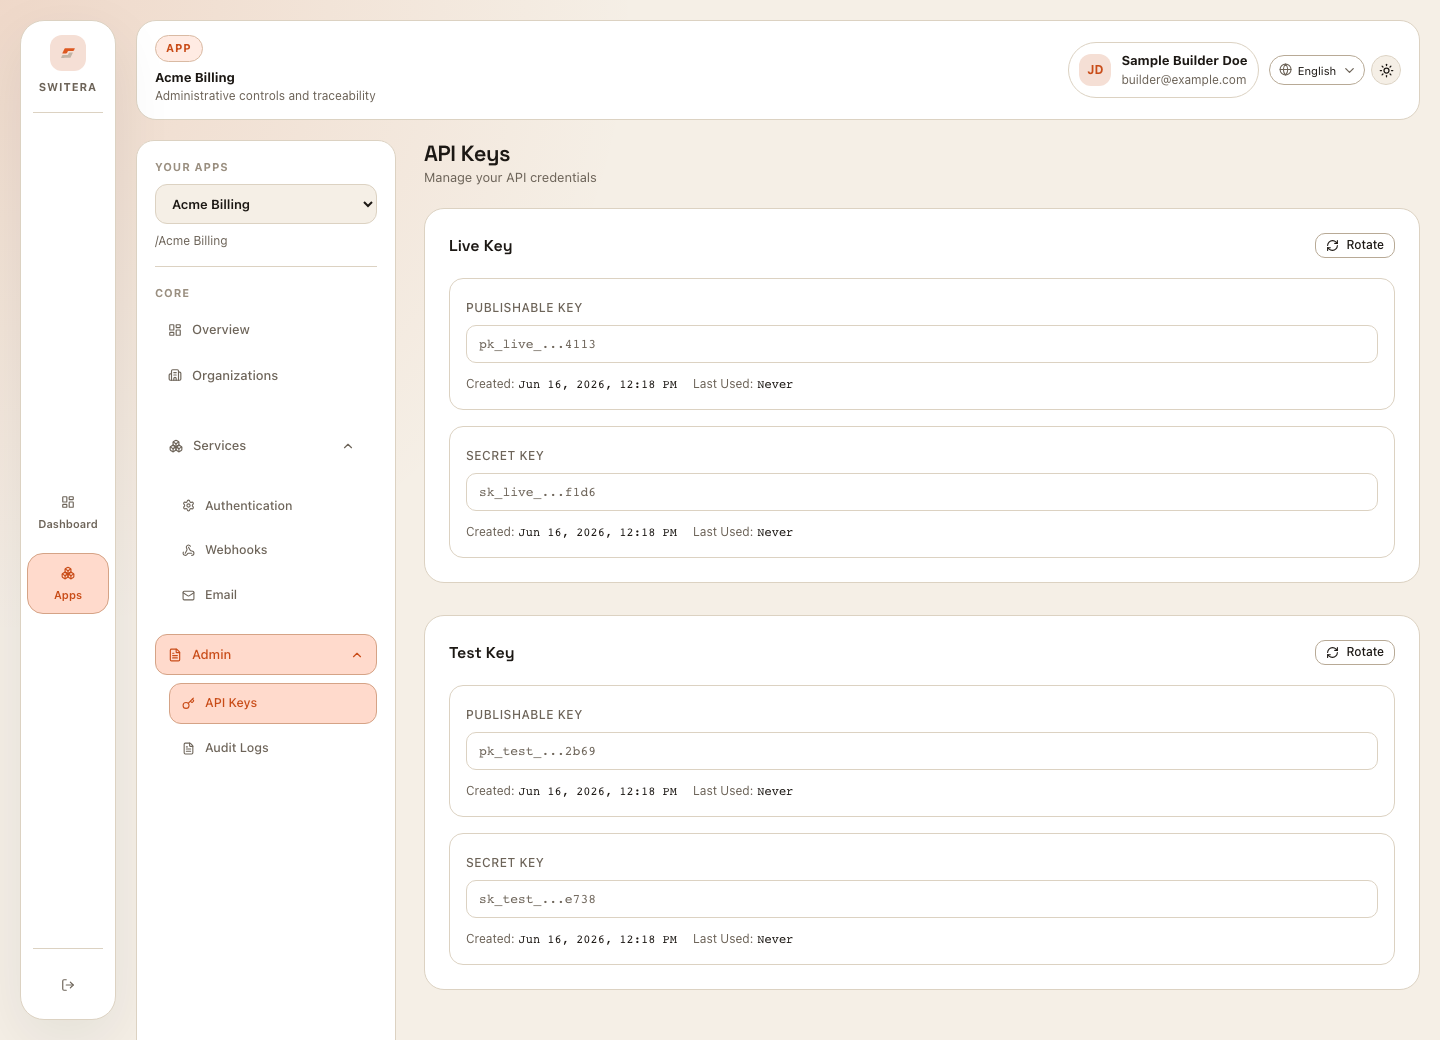
Store secret keys in your backend secret storage. Keep test and live keys separate.
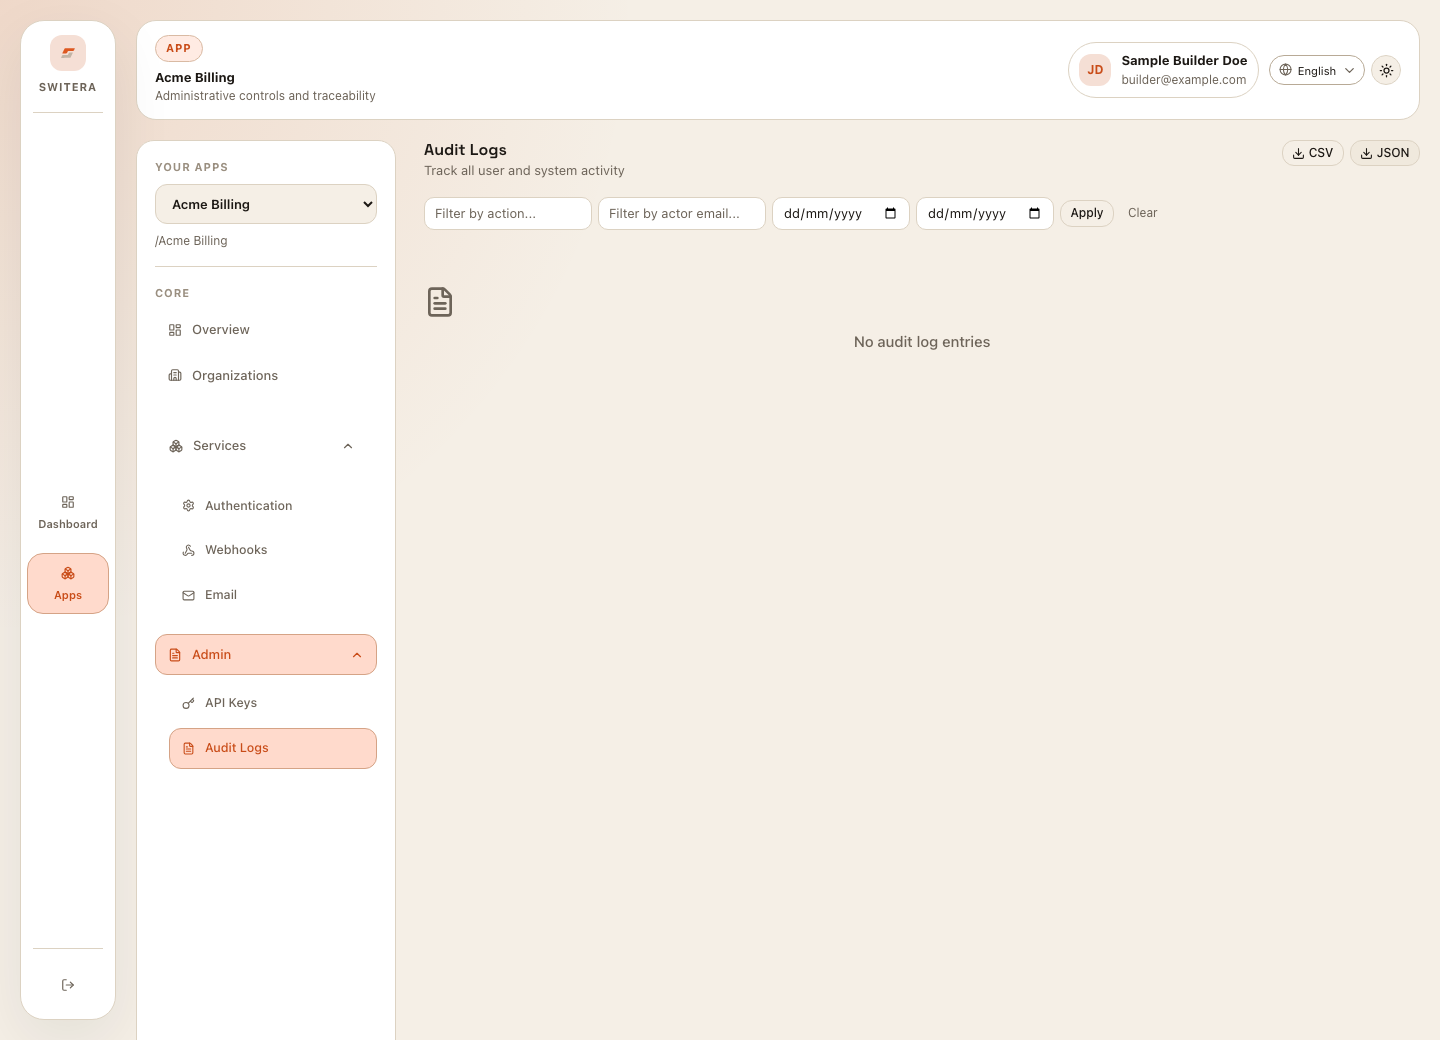
Step 10: Check audit logs
Open Developer > Audit Logs after the first setup. Confirm that app creation, Auth changes, organization changes, key rotation, or service edits show up as expected.
Success state
Your first app is ready for pilot use when:
- the app exists and has a clear name
- at least one organization exists if your product has customer accounts
- Auth has one working sign-in method
- email invitations or account messages are configured
- API credentials are stored only in trusted backend environments
- webhook endpoints are configured only if the app needs them
- audit logs show expected configuration activity
- the app overview launch checklist shows no required blockers
Continue with the Activation checklist.